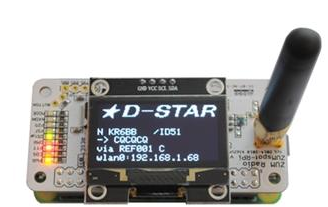
How to setup a ZUMspot
1. Power on the ZUMspot by connecting the USB cable to a power source
2. The first time you power on the ZUMspot, it will activate a WiFi network called Pi-Star
3. Connect your phone, tablet or computer to the Pi-Star network to configure. WiFi password is raspberry
4. Once connected to the Pi-Star wireless network, naviagate your browser to http://pi-star or http://pi-star.local
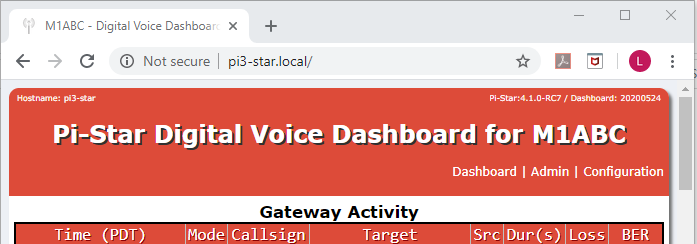
5. When you see the dashboard, click on Configuration
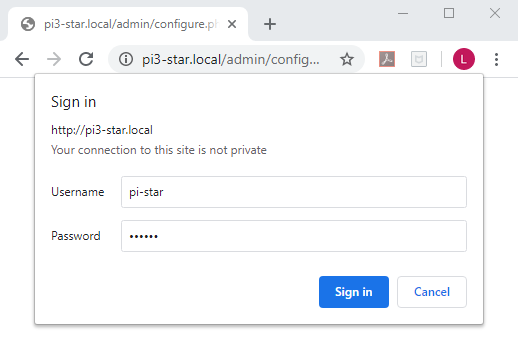
6. Enter pi-star as the username and raspberry as the password
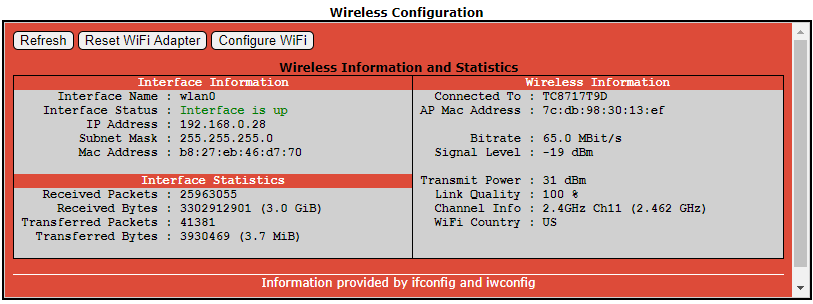
7. Scroll down to Wireless Configuration and click on Configure WiFi
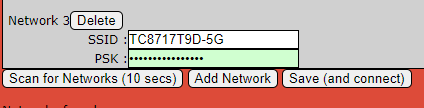
8. Click Scan for Networks and wait 10 seconds

9. Click and select your WiFi SSID from the list

10. Type your WiFi password in the PSK field and click Save and Connect
11. After you click Save and Connect wait a couple of minutes or until your WiFi is successfully connected.
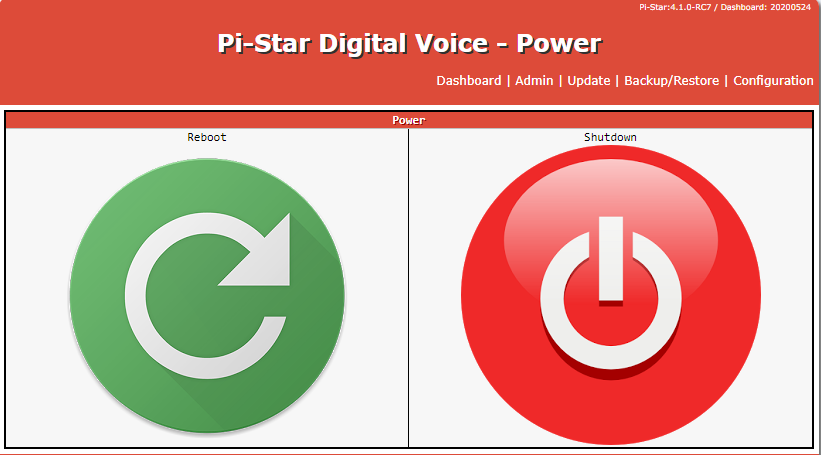
12. Scroll up and click on Power

13. Click Reboot and wait a couple of minutes or until you see the dashboard
14. Click Configuration and scroll down to General Configuration
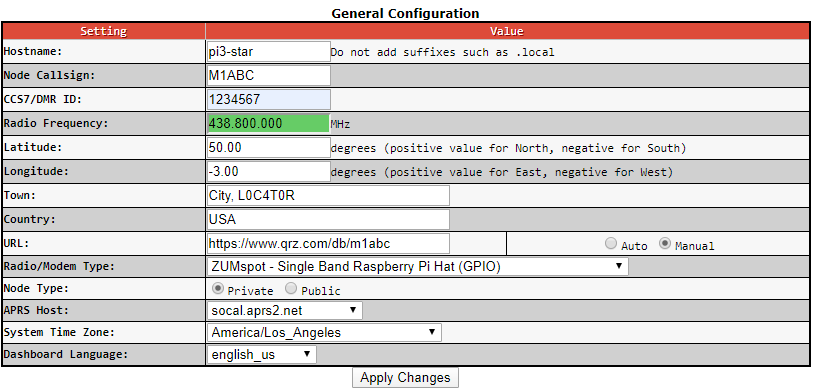
15. Under Radio/Modem Type, select ZUMspot - Single Band Raspberry Pi Hat (GPIO) and click Apply Changes
NOTE: If you are configuring the black MMDMV/Jumbospot, select STM32-DVM/MDMDVM_HS-Raspberry Pi Hat (GPIO)
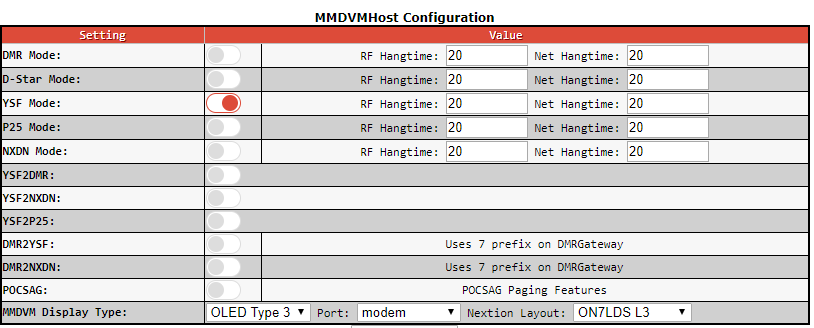
16. Select YSF Mode by clicking on the radio button until it turns red. Click Apply Changes

17. Scroll down to Yaesu System Fusion Configuration and select YSF Startup Host

18. Under YSF Startup Host, select FCS00322 - CM-XGATEWAY and click Apply Changes
19. FCS00488 - Philippine-Link and YSF21367 US GM-YSFGATEWAY can also be used as a backup host
20. Scroll up and click Update

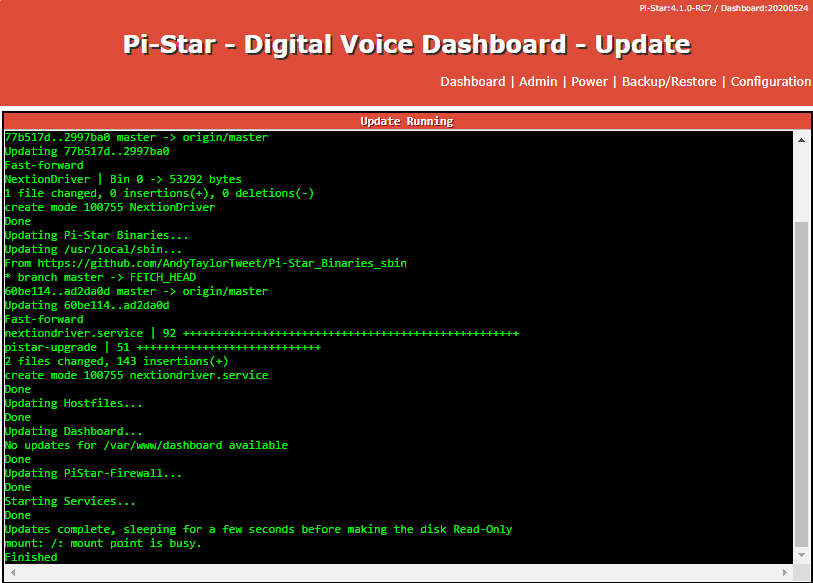
21. When the update finishes, click on Dashboard
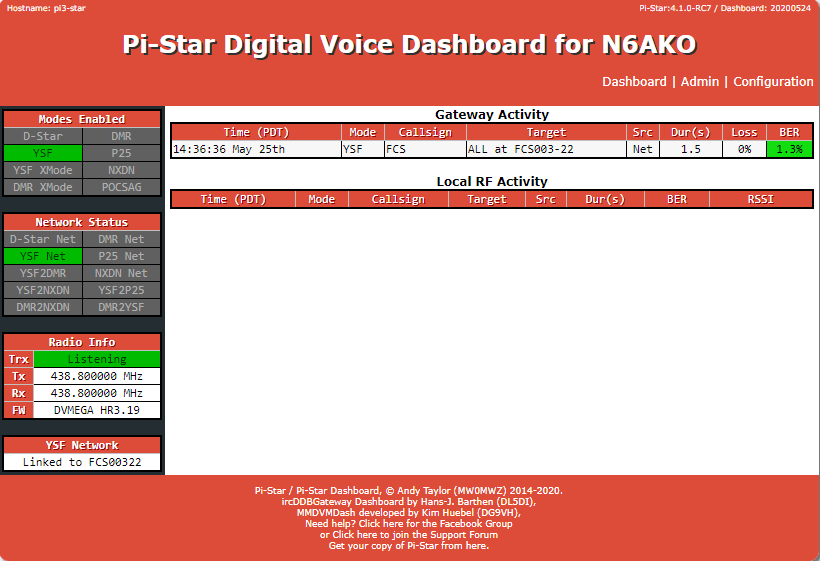
22. Under YSF Network you should see a message saying "Linked to FCS00322." If you don't see Linked to FCS00322, reboot the ZUMspot
23. Once you have a successful link to FCS00322, program your radio to 438.800 MHz, simplex and digital (DN)