How to configure ODMaster and PoC Radio (Tidradio)
1. Register for an account using your email
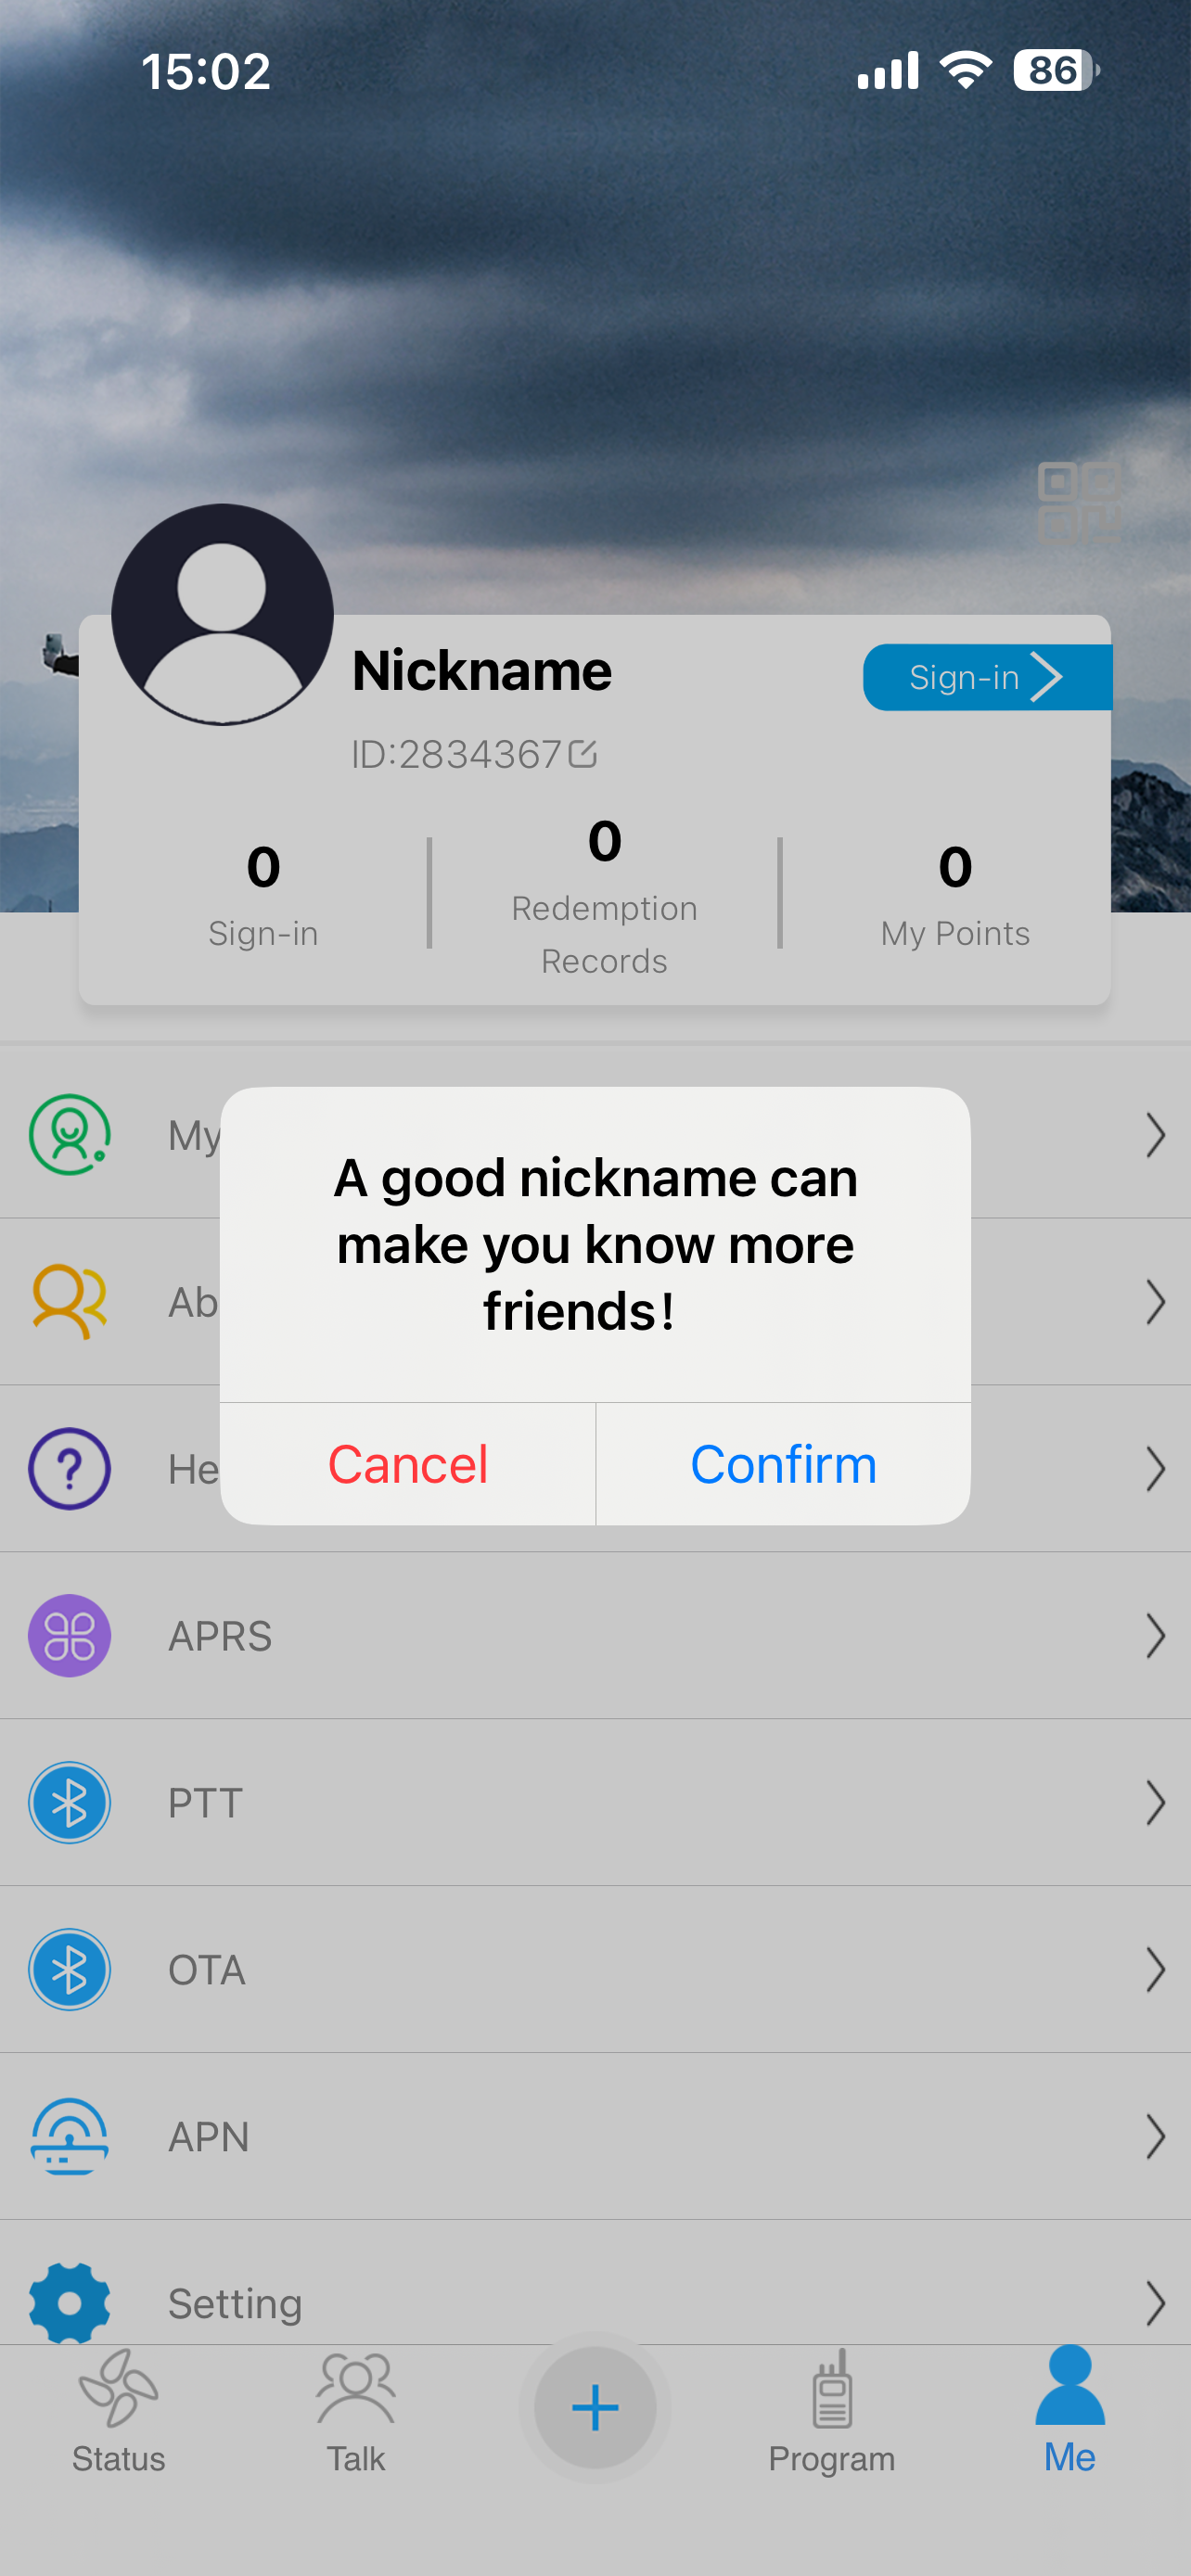
2. Change the nickname and enter your callsign then click Confirm

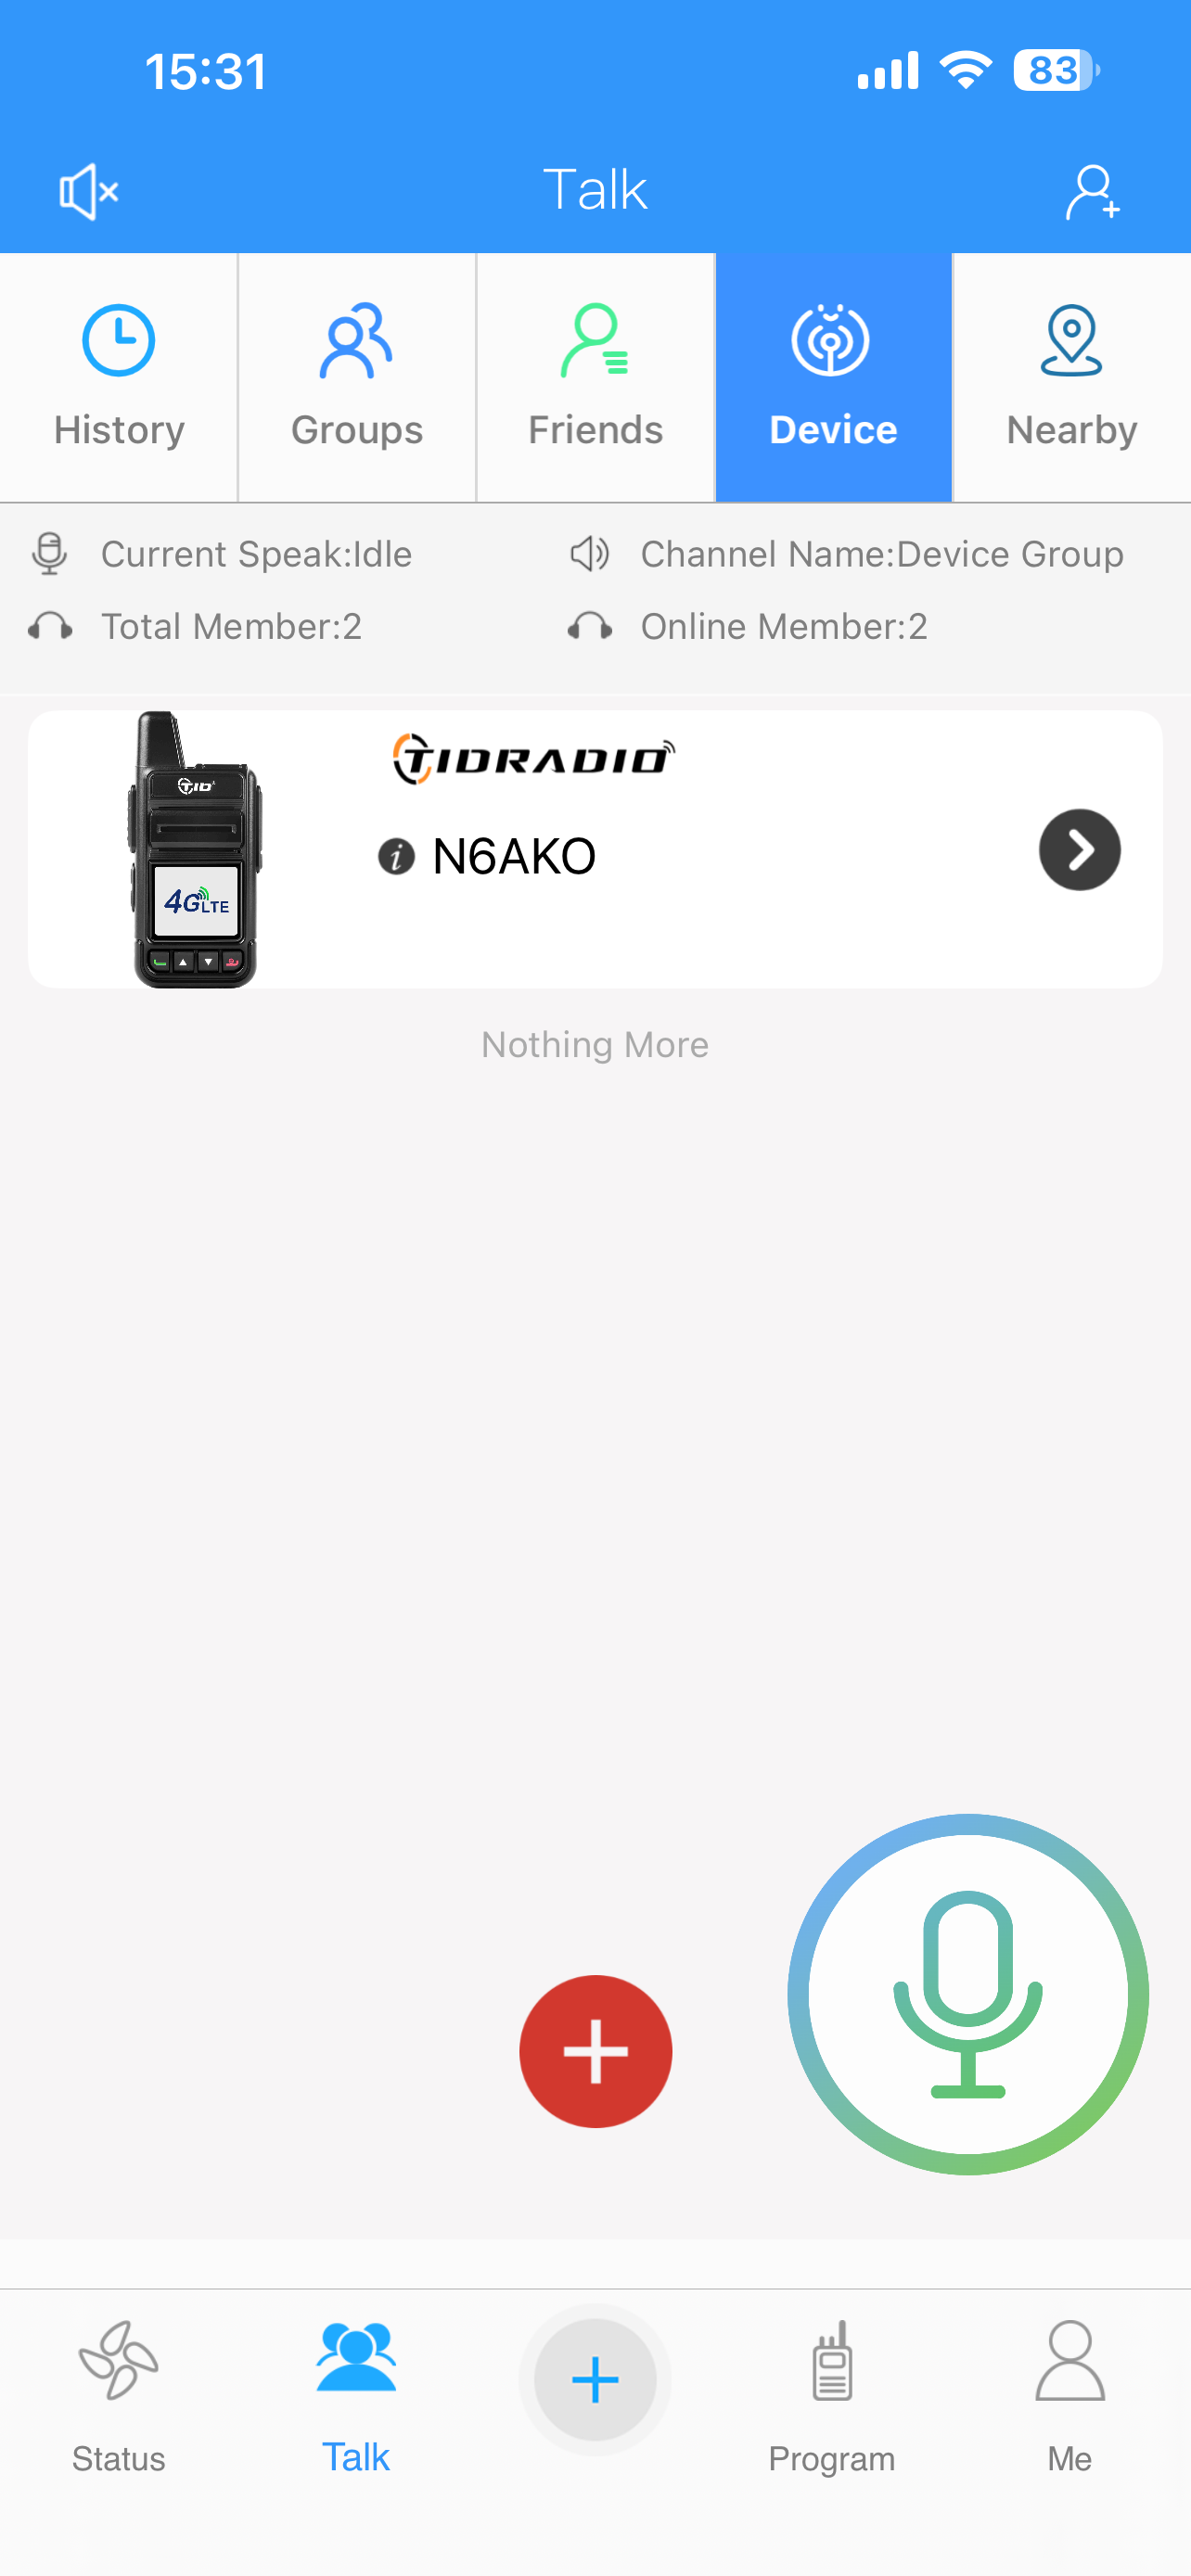
3. Click the Talk icon on the bottom
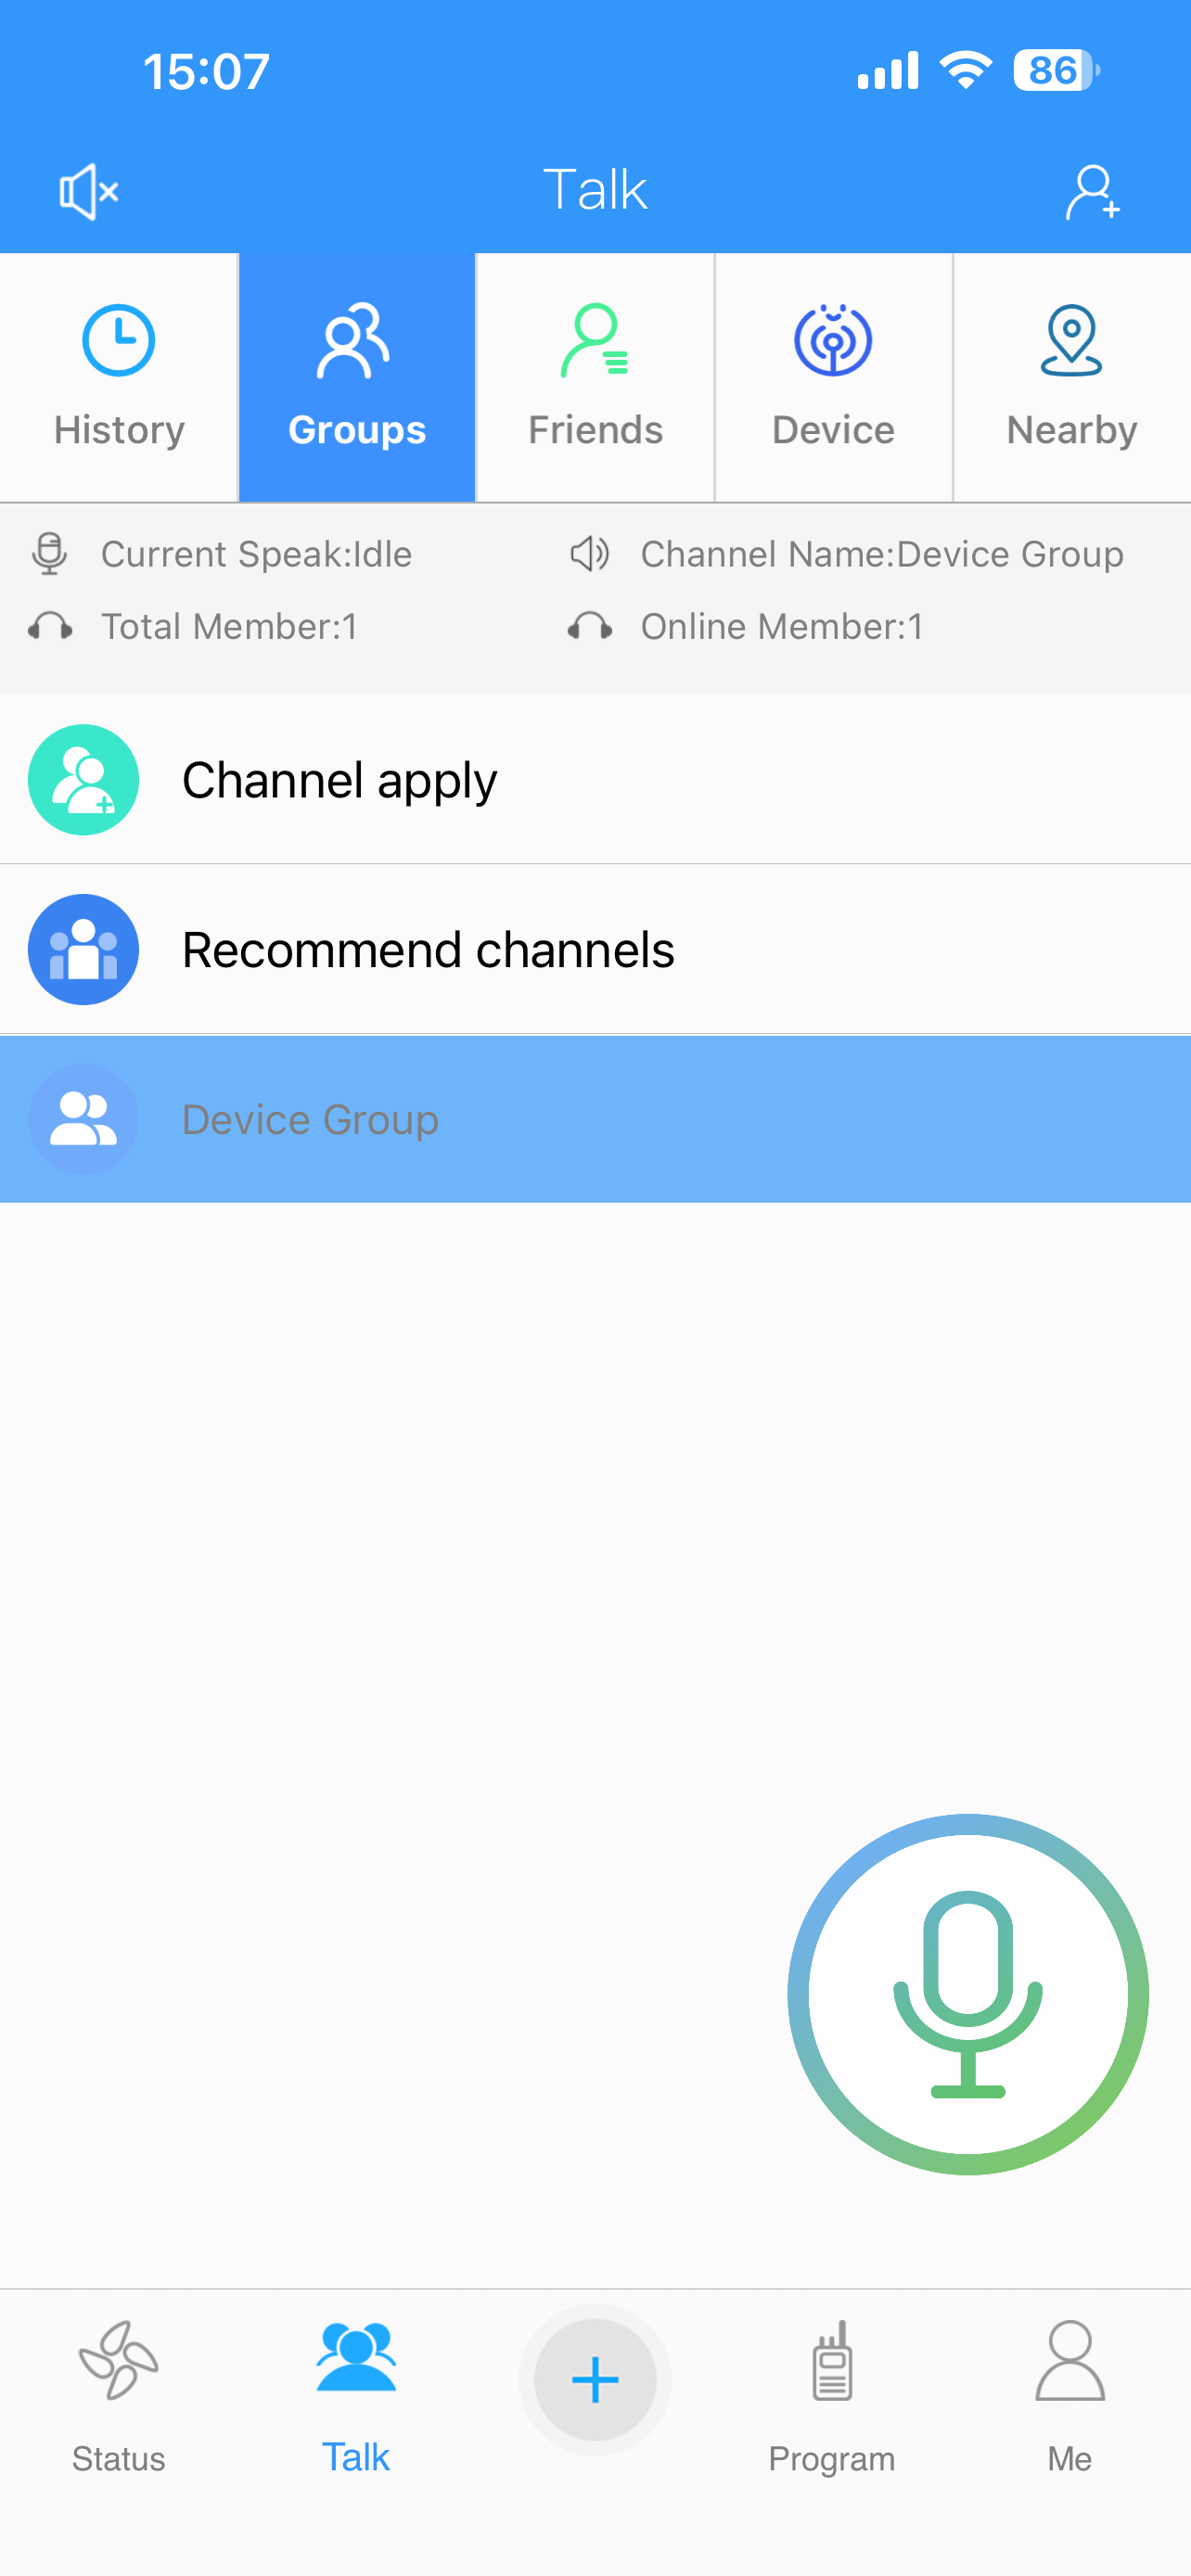
4. Click the Device icon on top
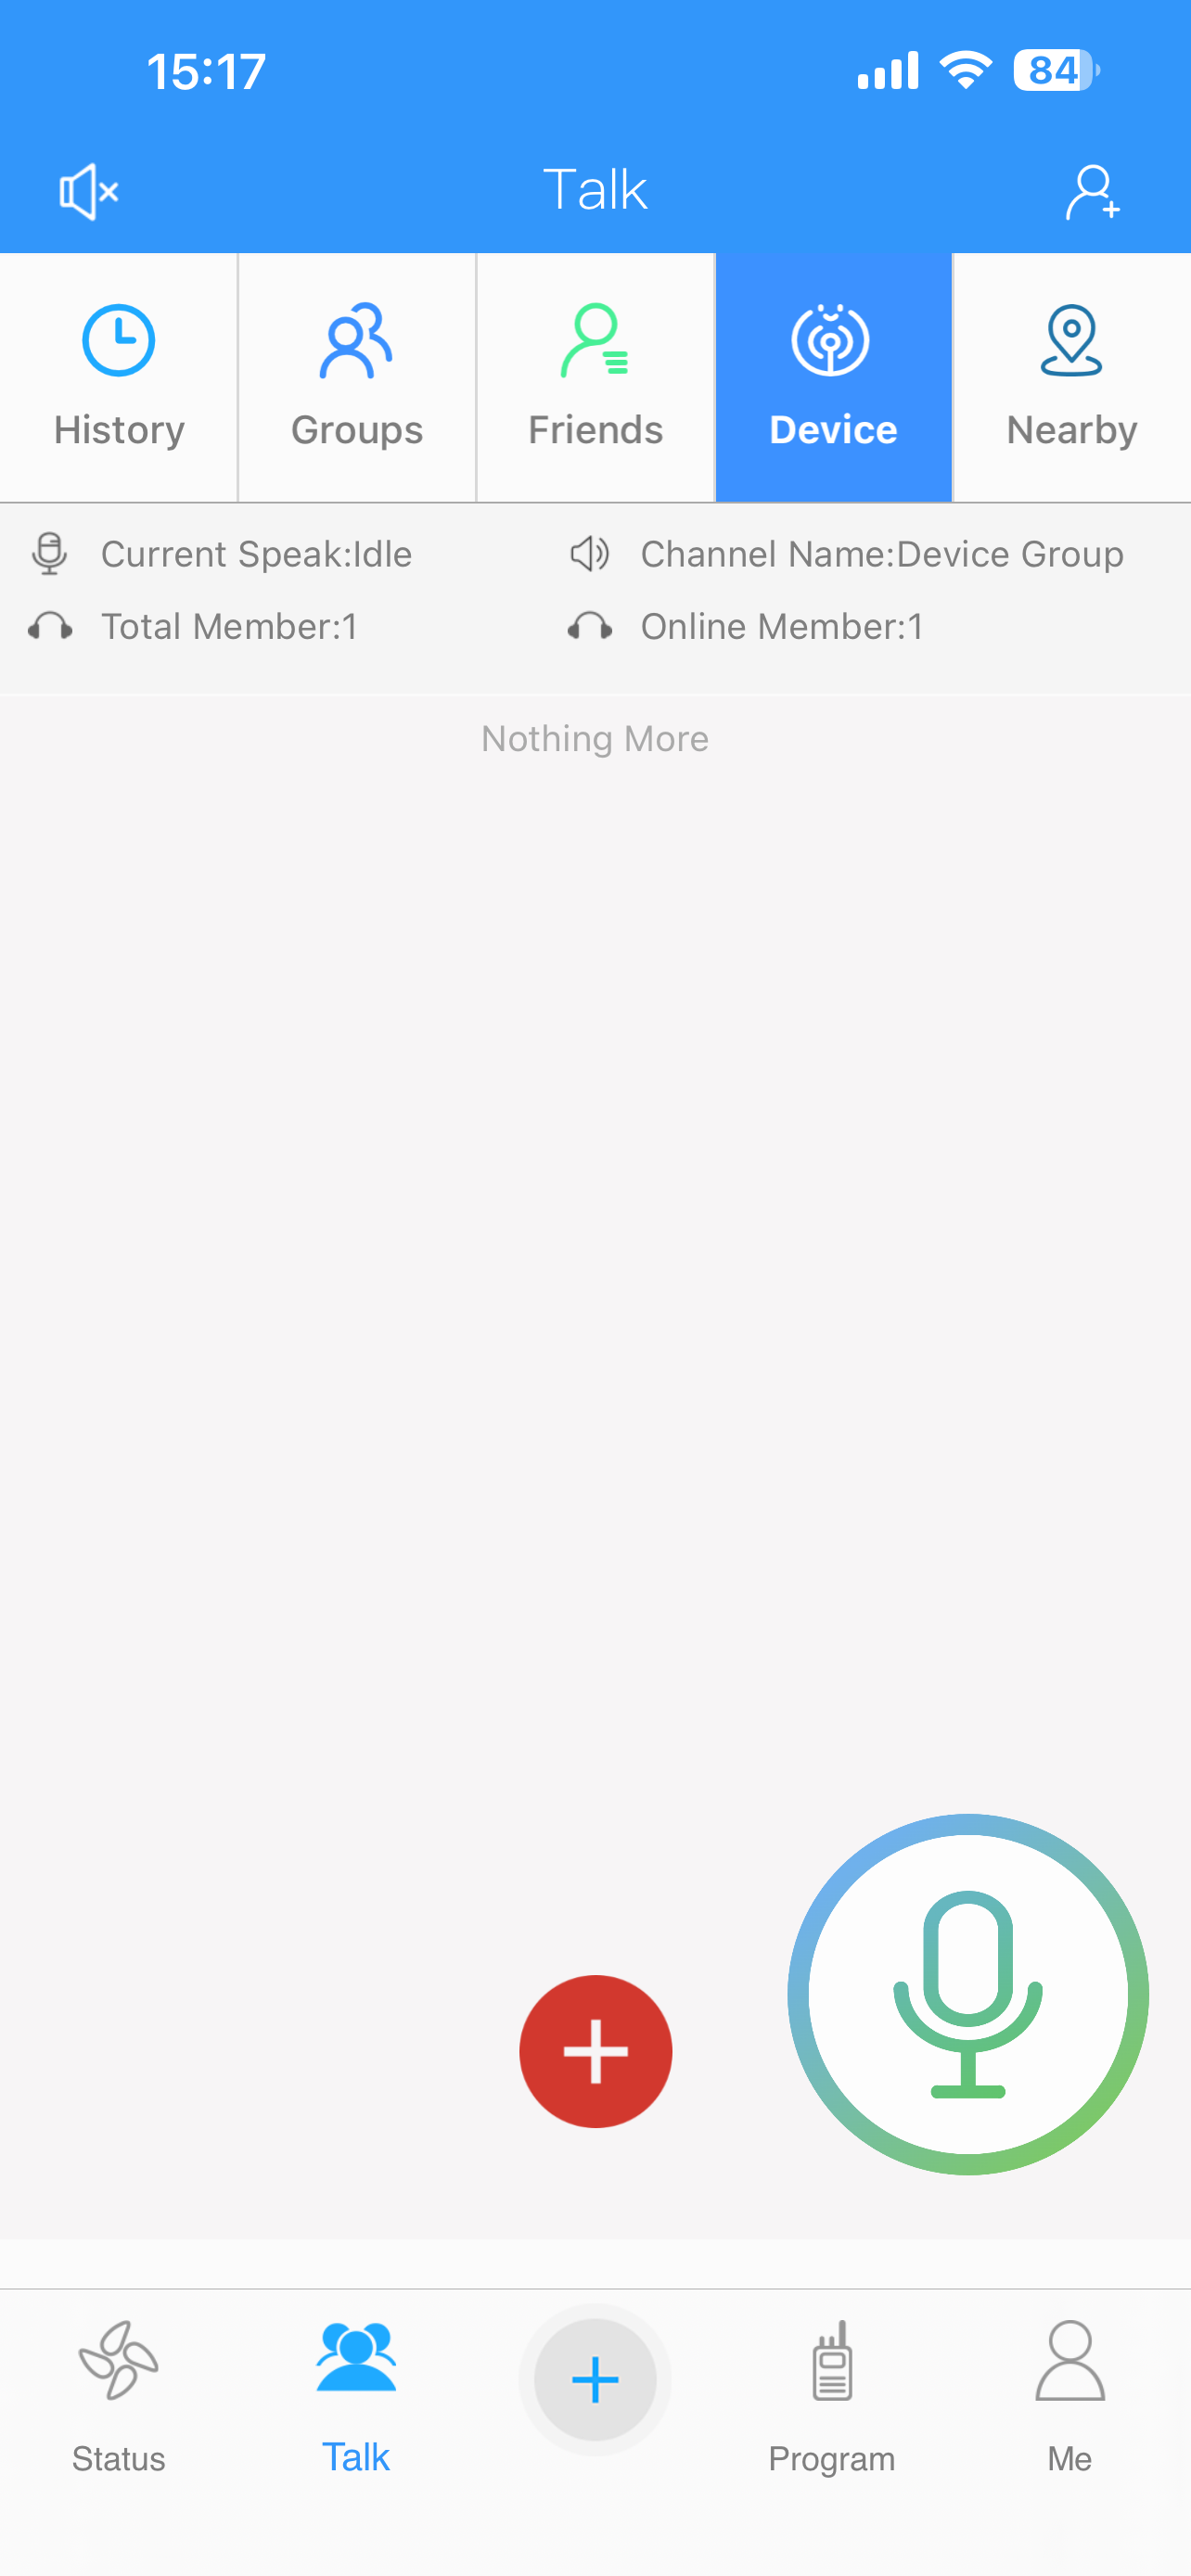
5. Click the + icon to add your radio
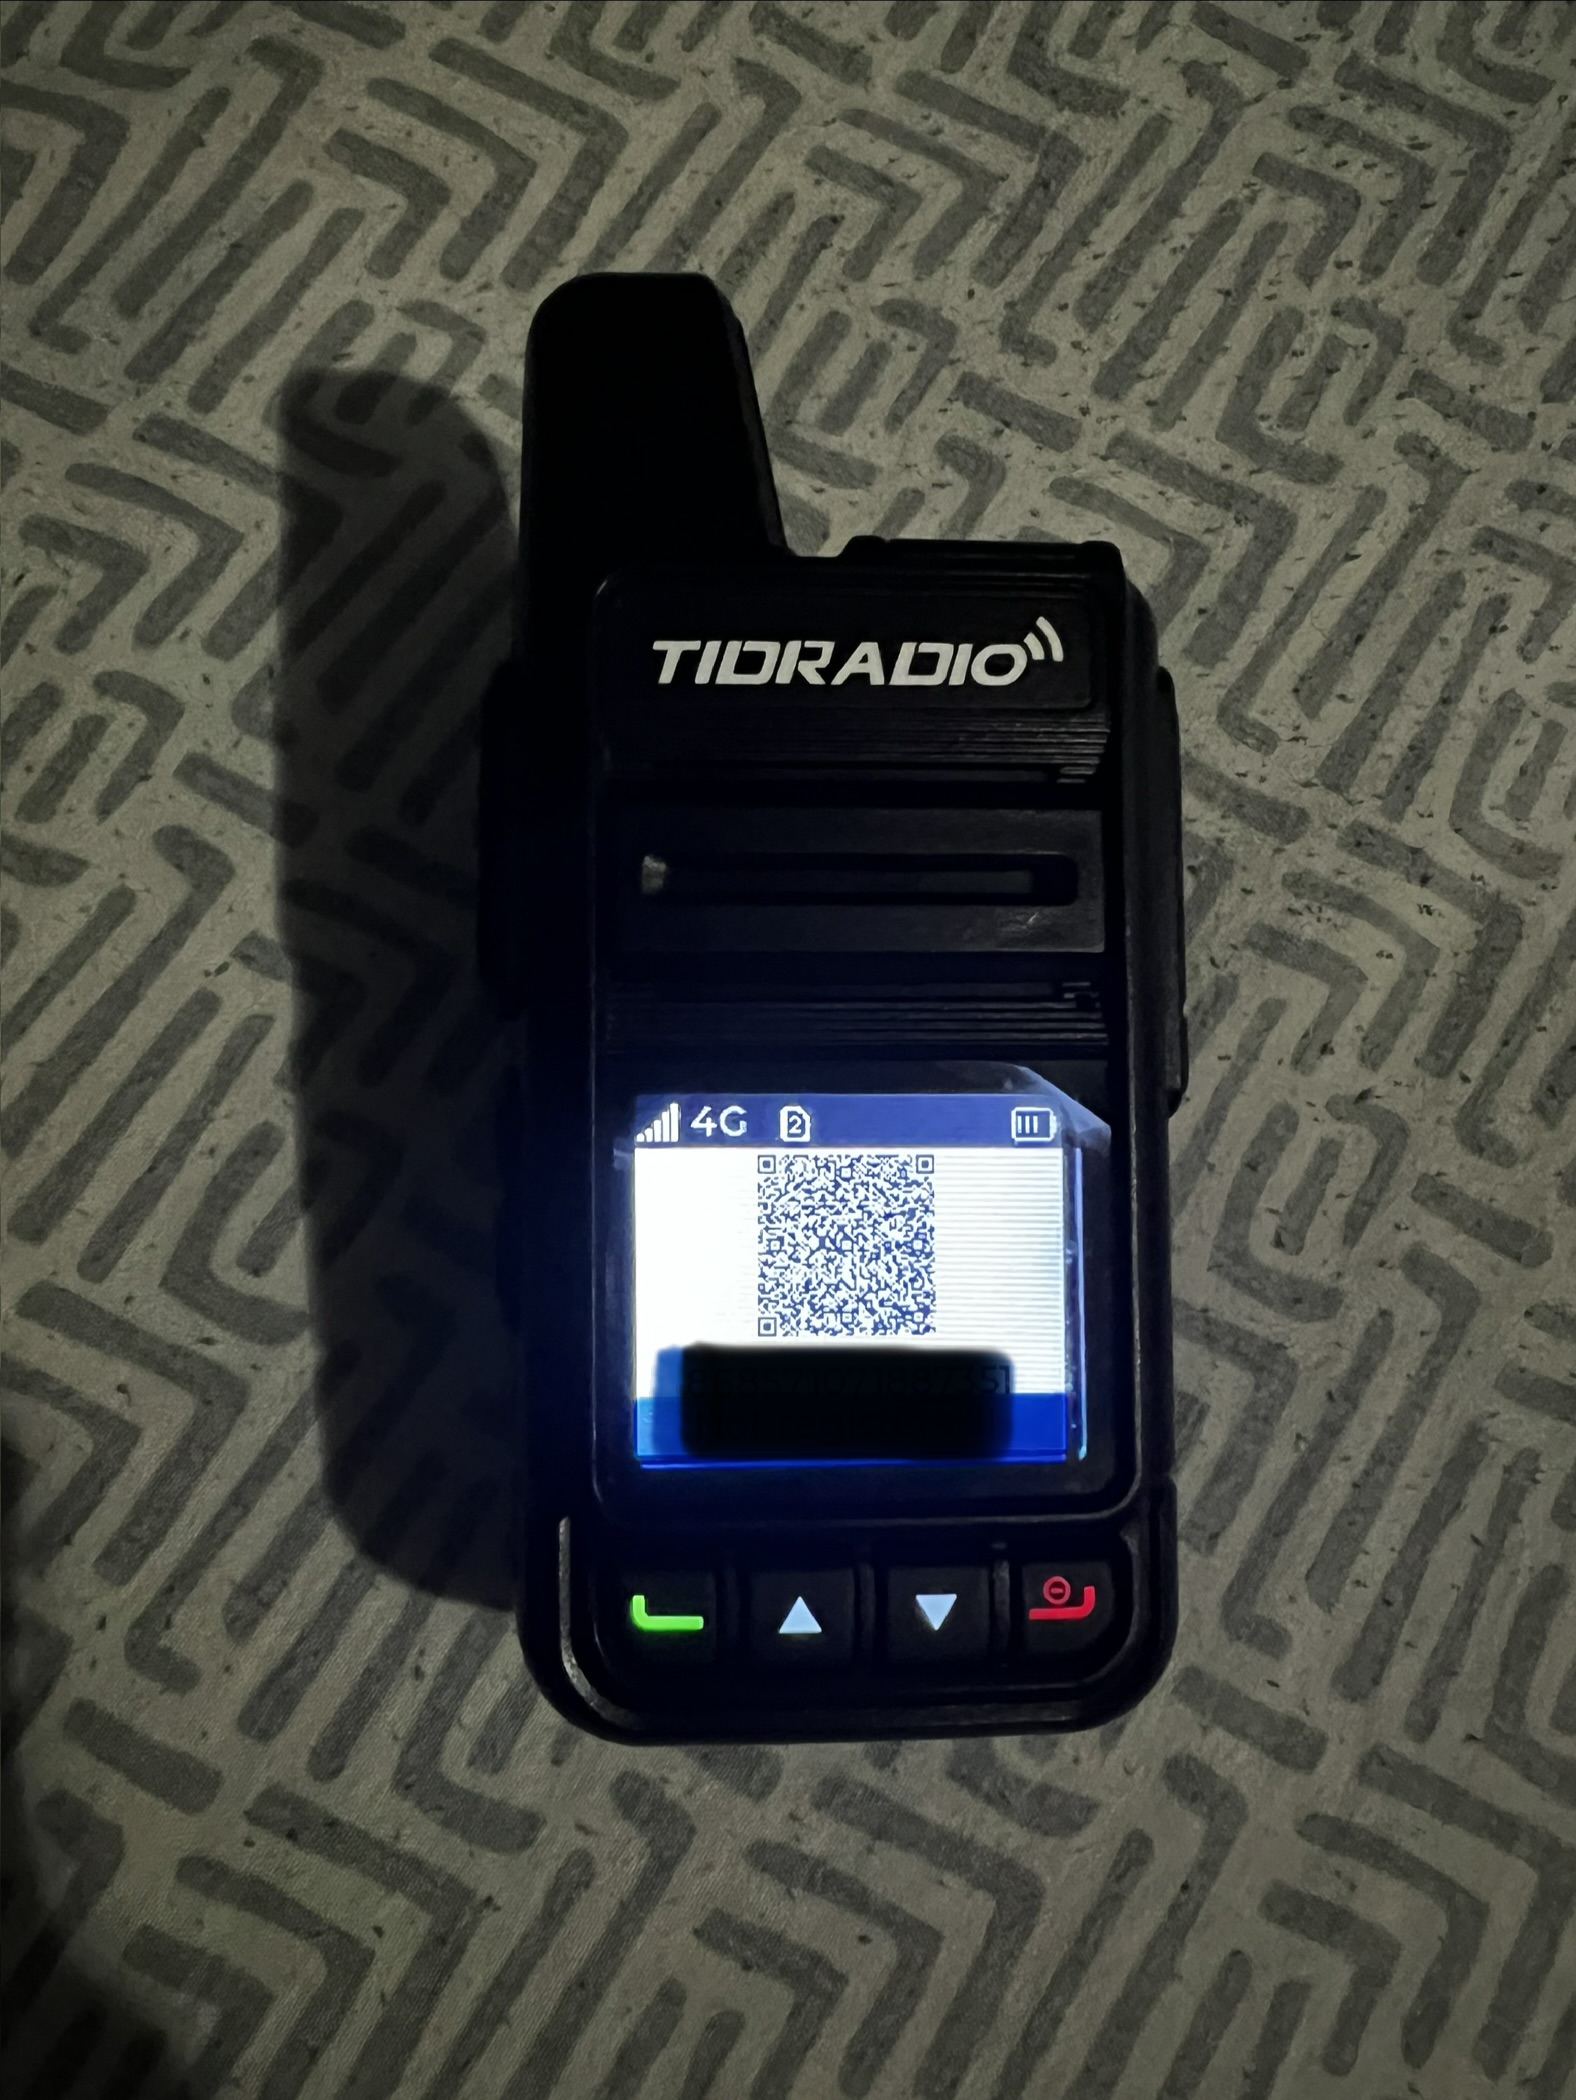
6. Select your TDRadio from the list
7. Allow ODmaster to scan your radio
8. Click Confirm to add your radio
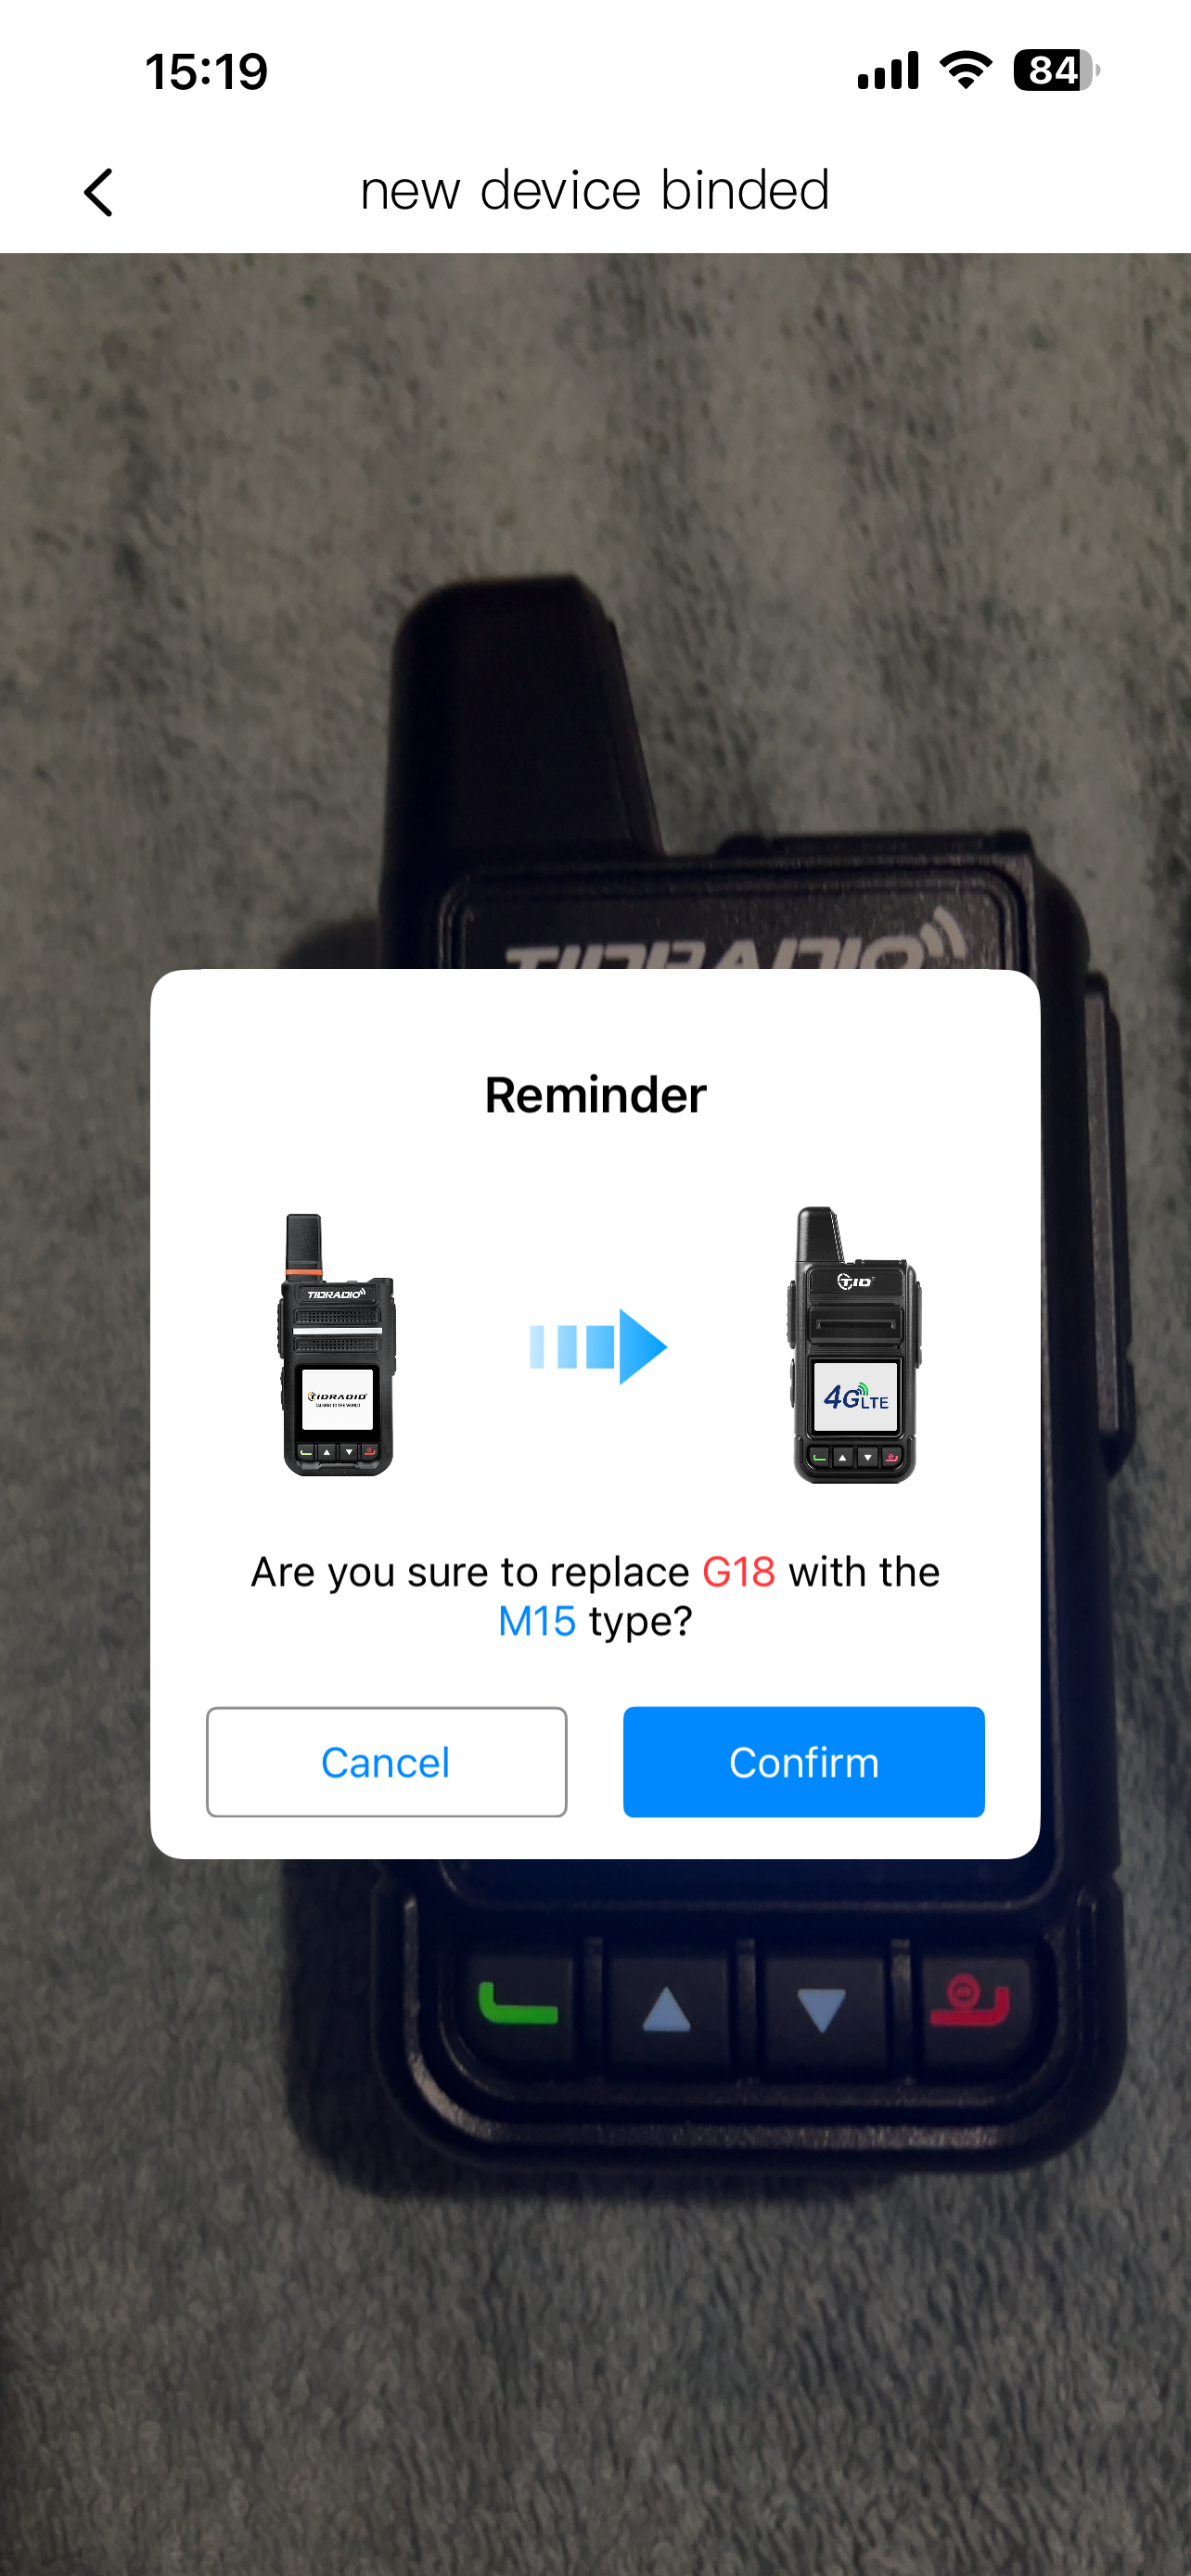
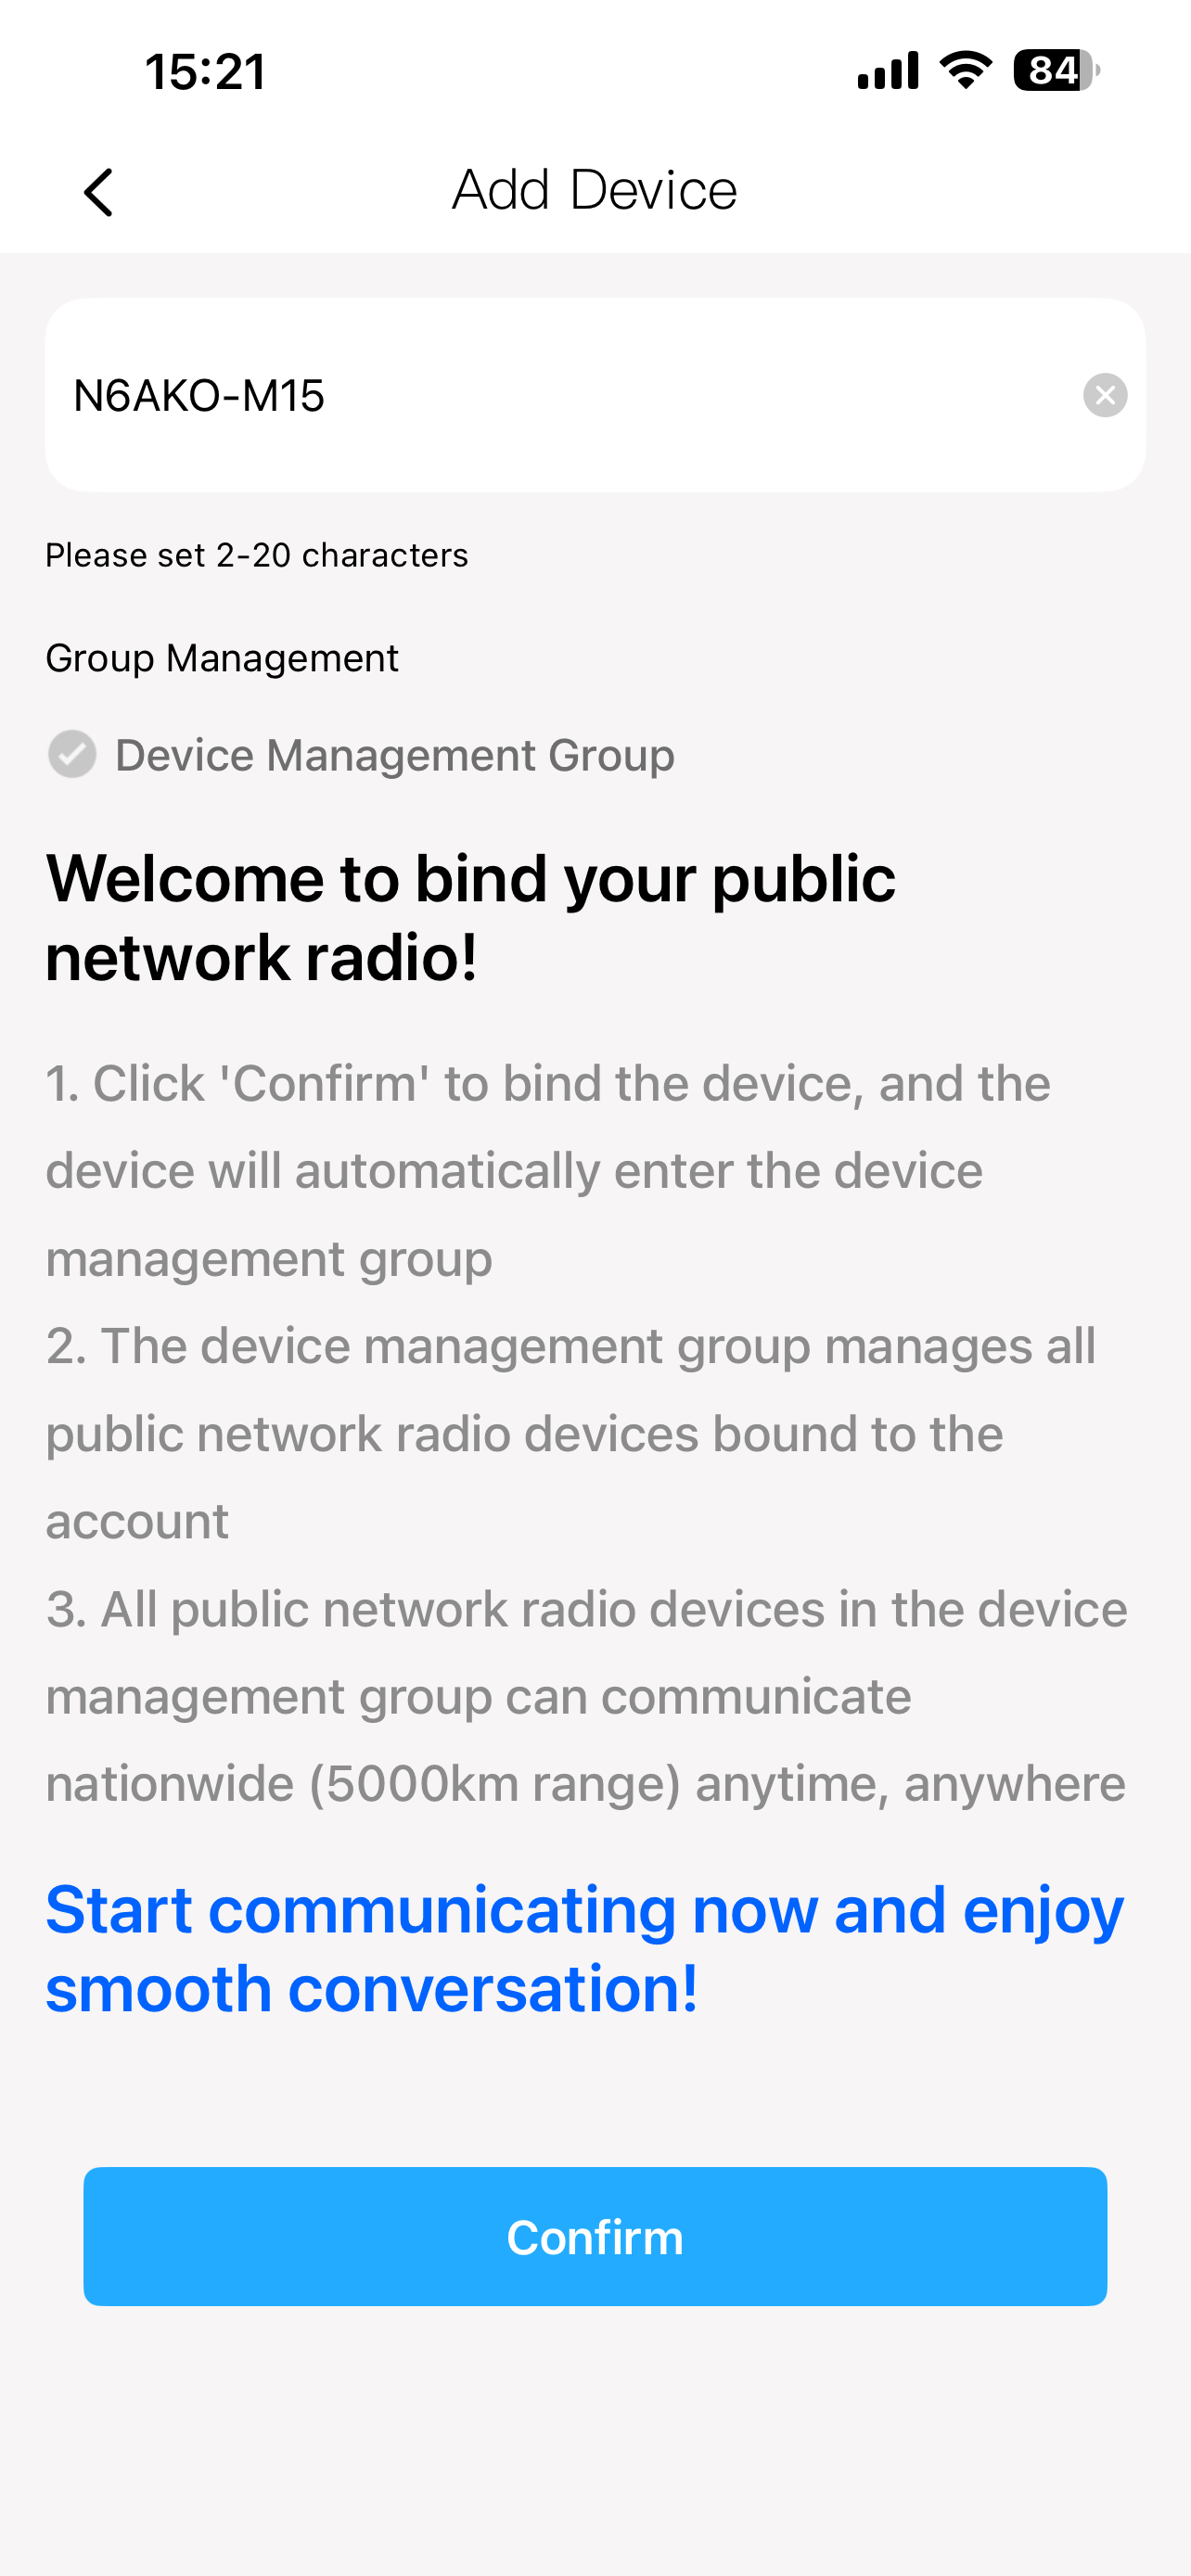
9. Change the radio name to your callsign and the radio model and click Confirm
10. Click on the face+ icon on the top right
11. Click on Join Group
12. Search for GM-PoC and add GM-PoC-ASL-CA & GM-PoC-ASL-FL
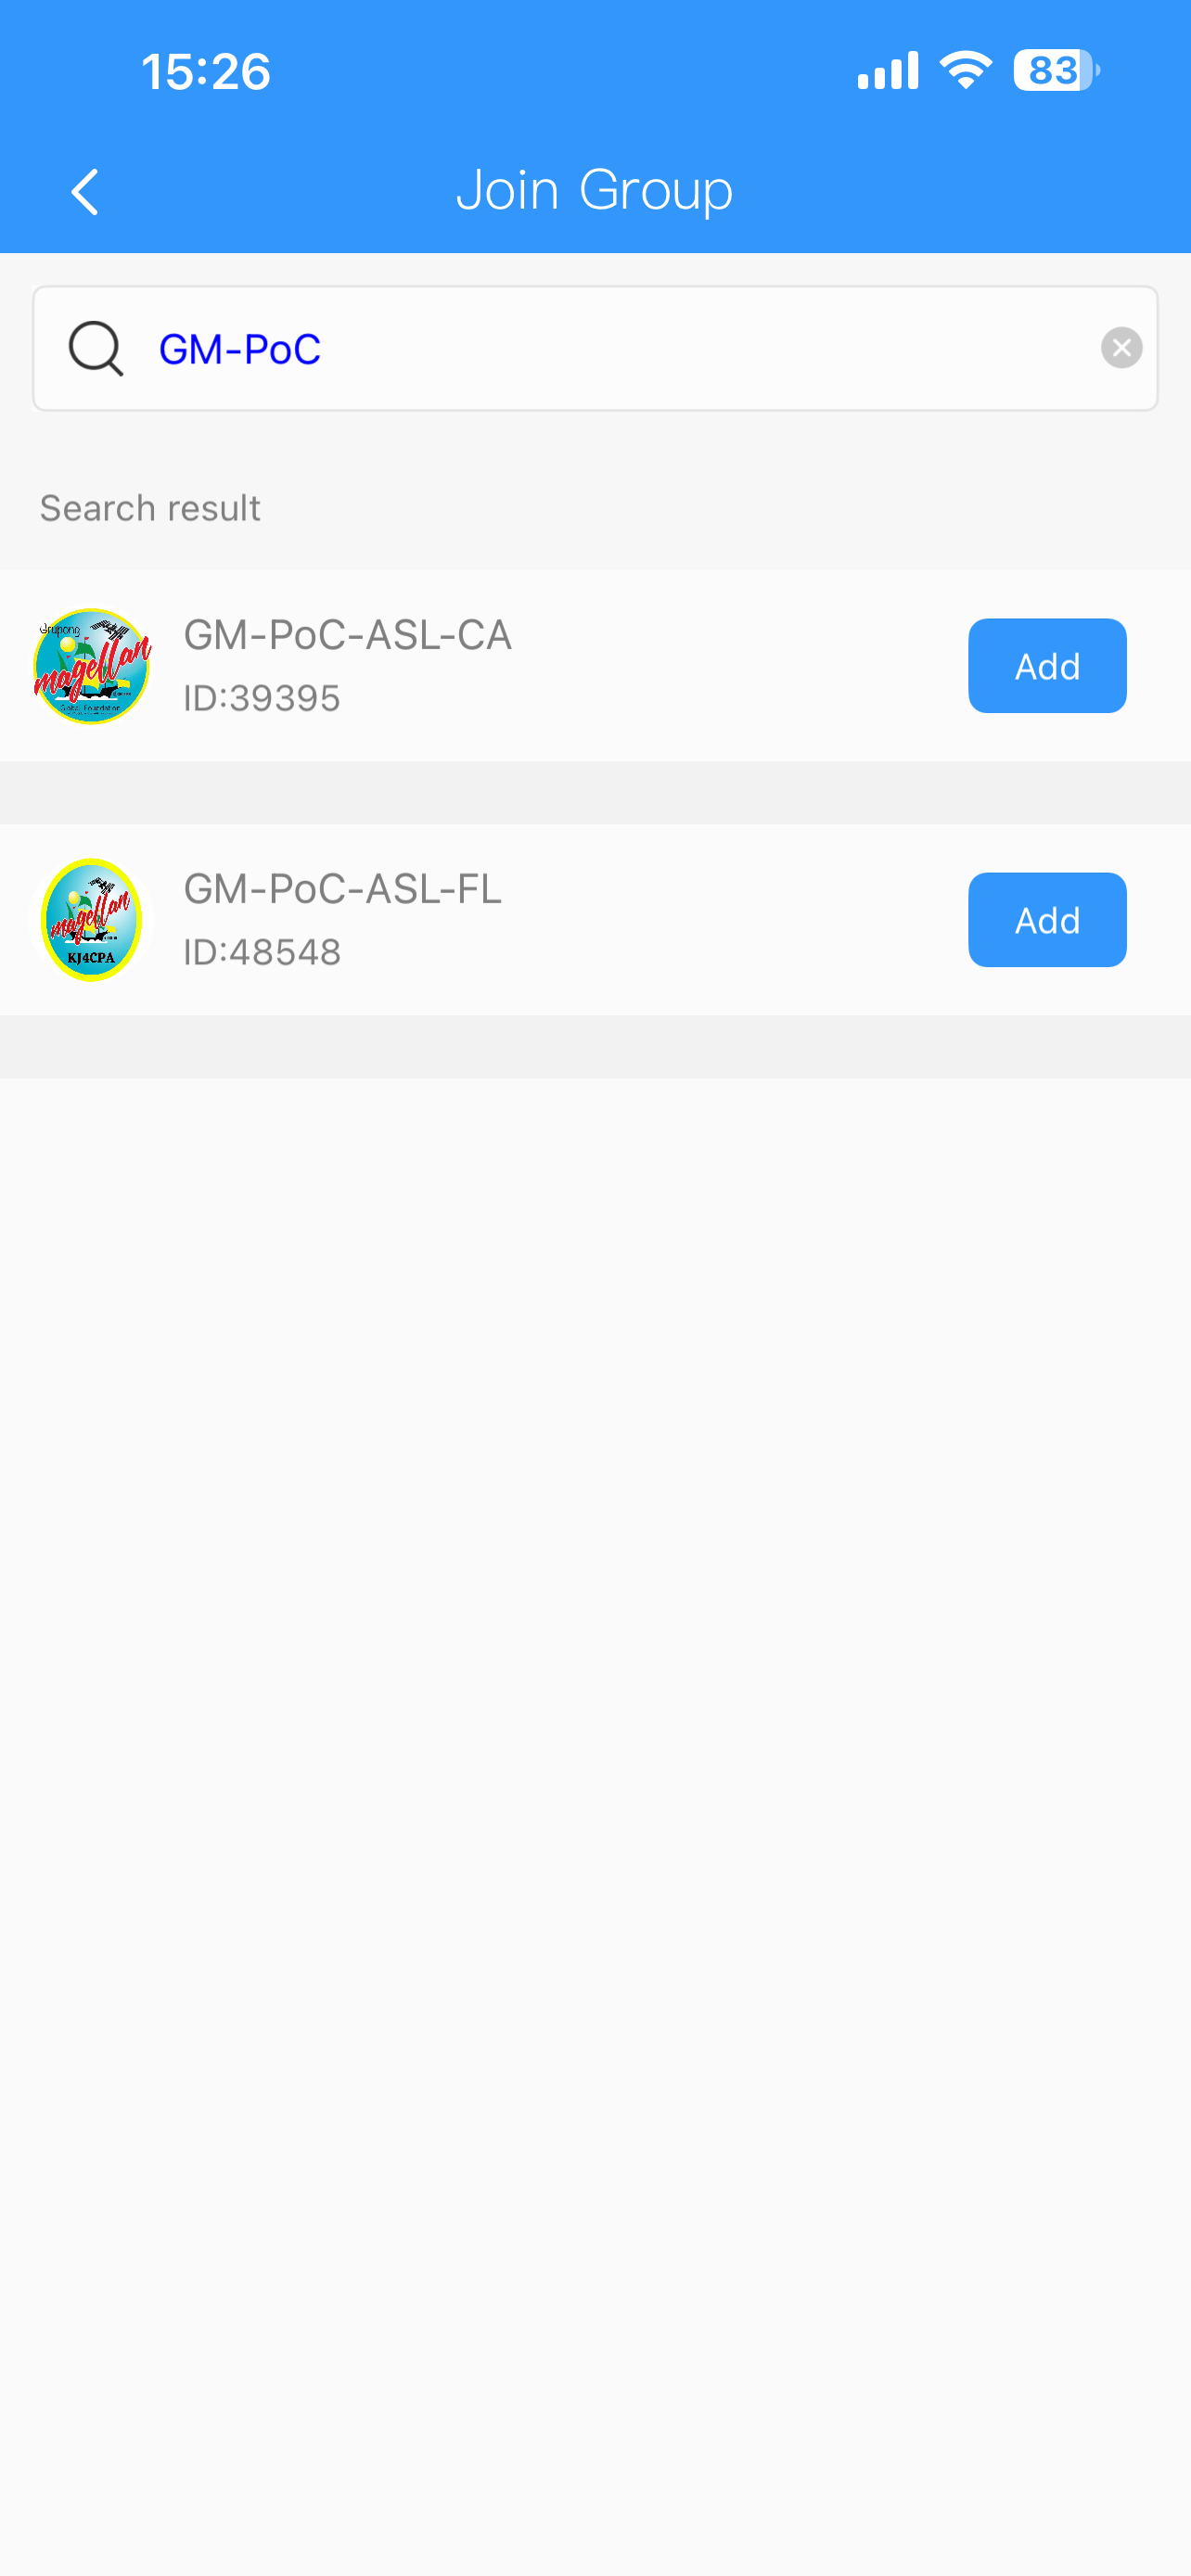
13. Wait for KJ4CPA & W6ZU to approve your group request before proceeding
14. Click on Device icon and click on the right arrow next to your radio
15. Click Manage Group
16. Click on the plus sign in the top right
17. Click Quick Add

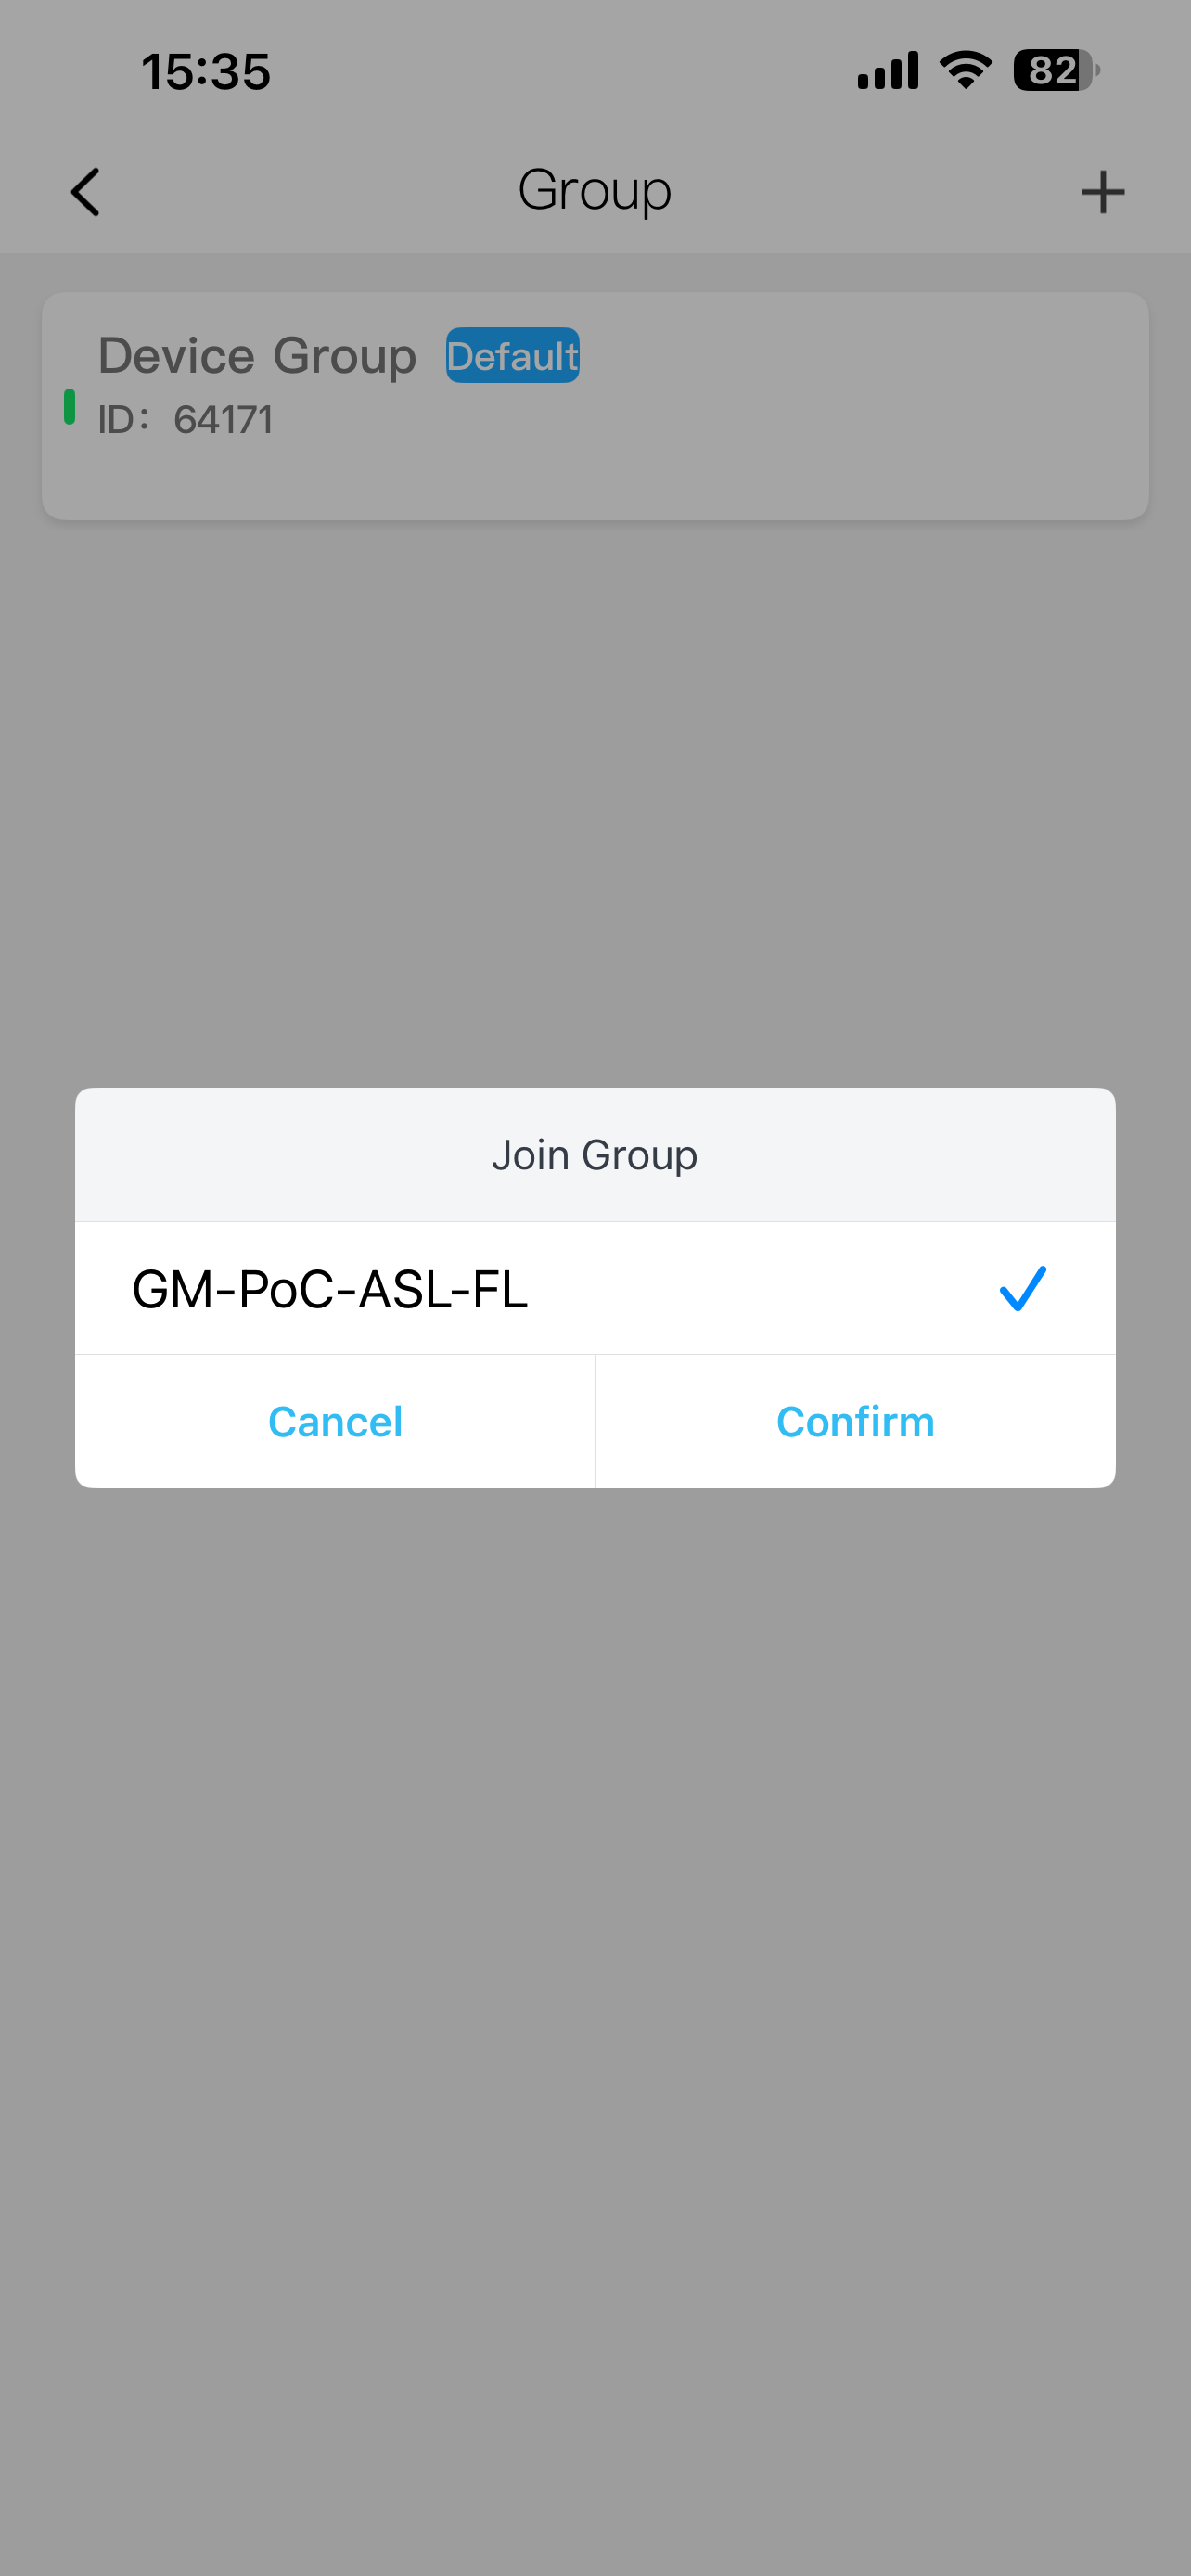
18. Click on GM-PoC-ASL-FL and click Confirm
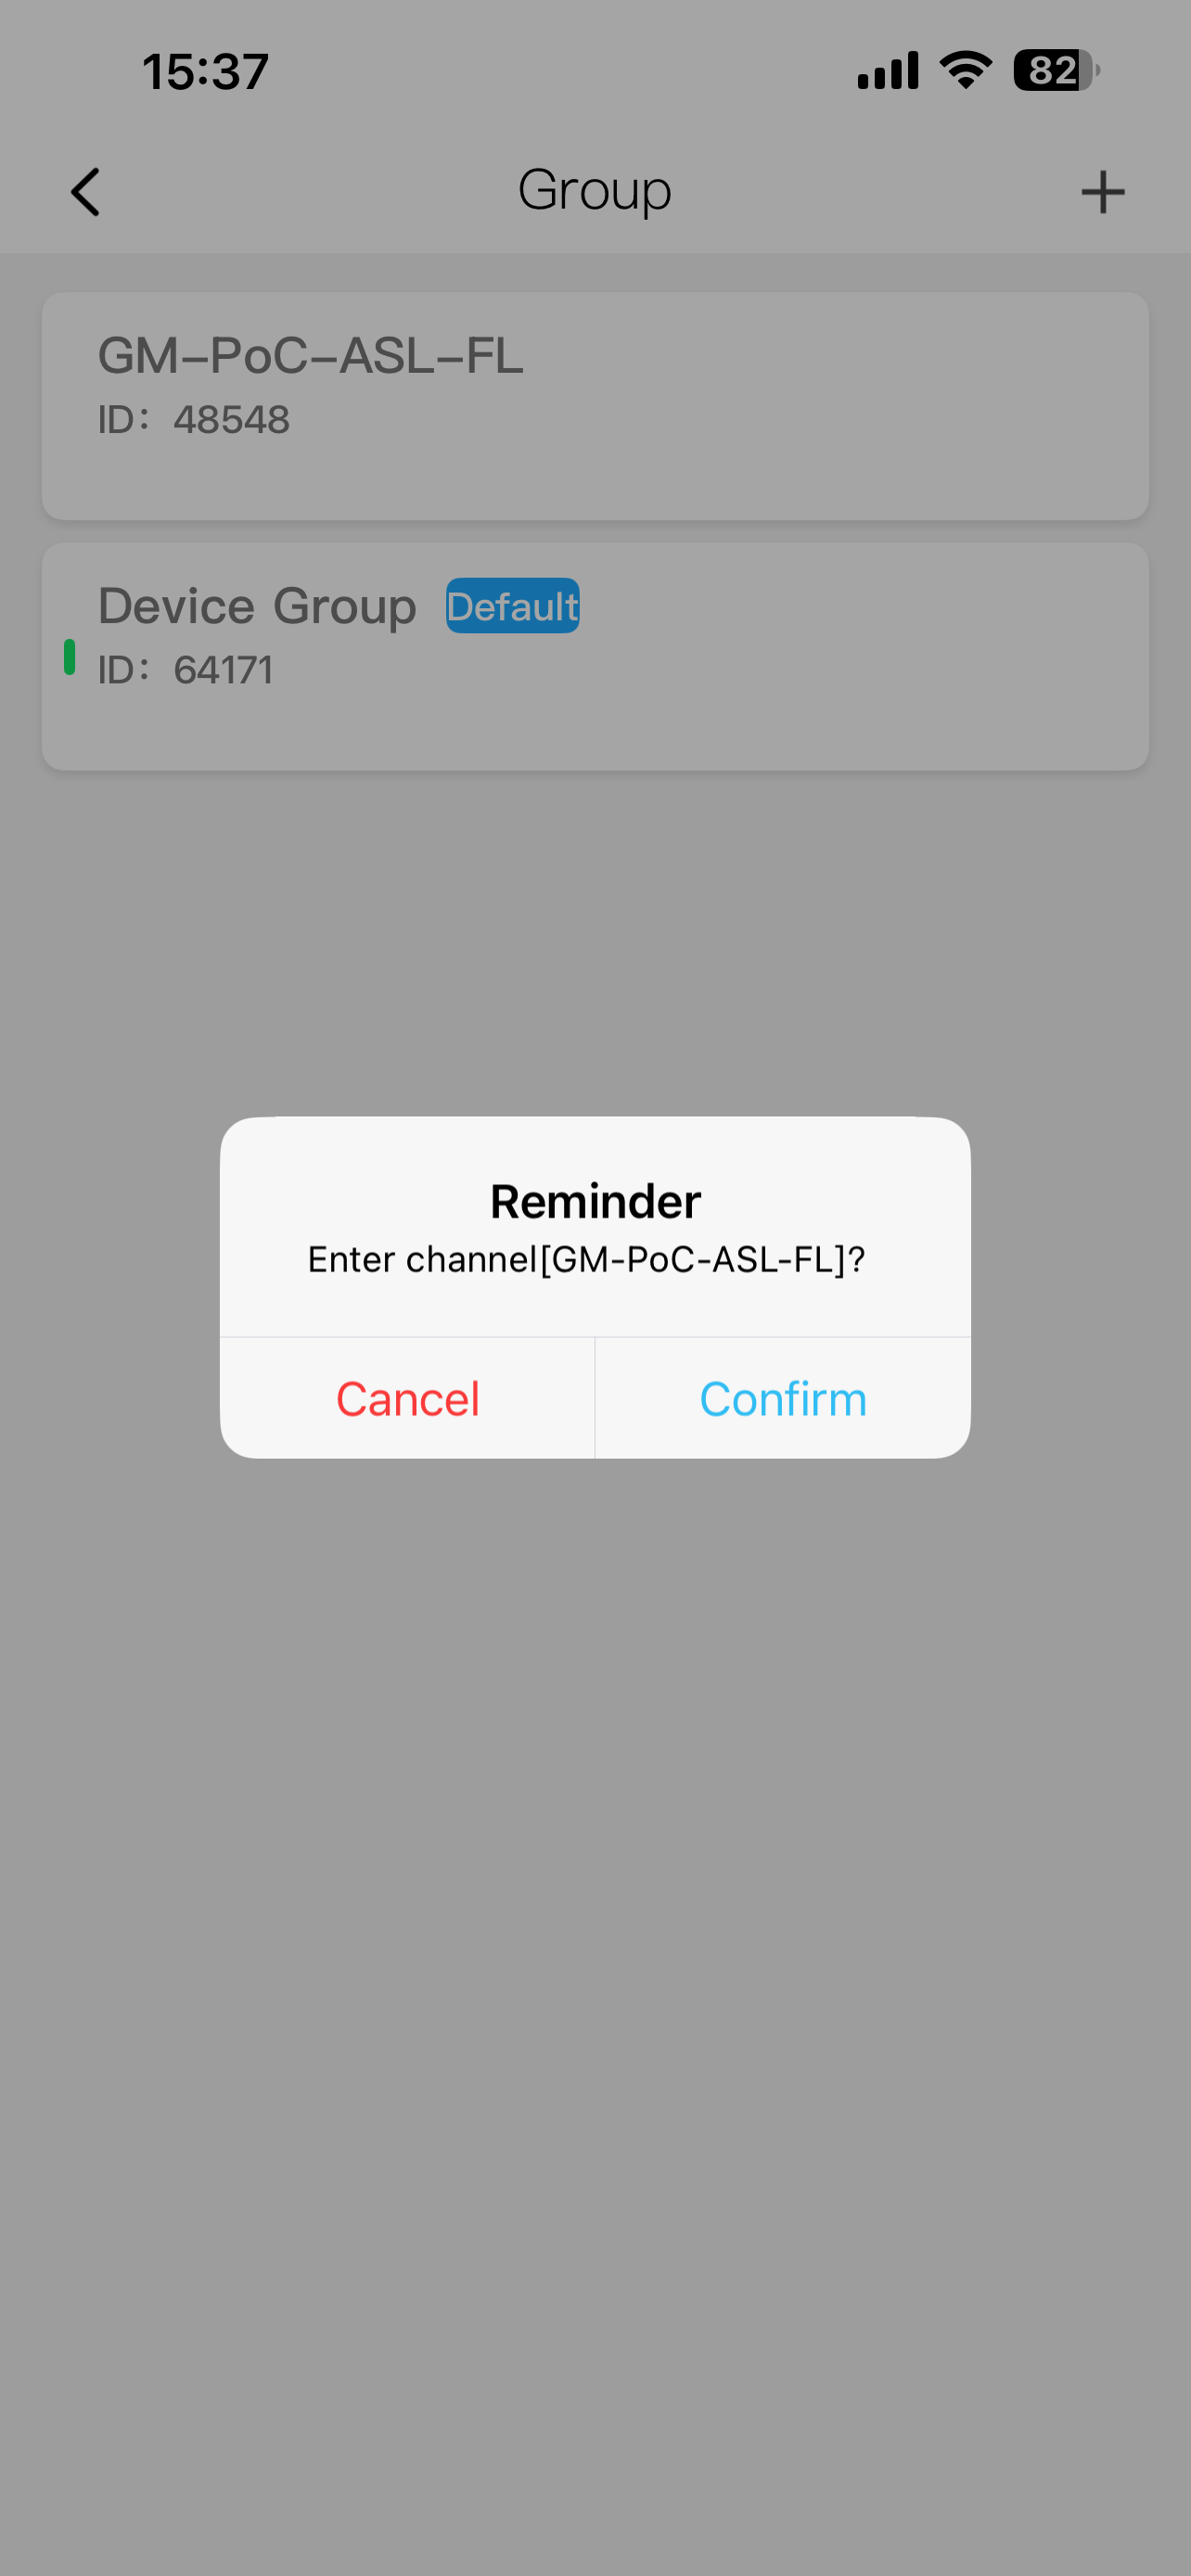
19. Click on GM-PoC-ASL-FL and press Confirm to enter the channel
20. Repeat 17-19 to confirm or add more groups
21. Click back twice verify that GM-PoC-ASL-FL is in your groups list
22. Turn your radio off and on to synchronize it to the app
23. Press the menu/green button on your radio
24. Using the down arrow, scroll all the way down and press the green button to confirm firmware update
25. Your radio will restart after a few minutes
26. Press the menu/green button and scroll down to Single Call Exit Time
27. Press the green button and change it to 120 seconds
28. Press the green button to save
29. Press the red button to exit
30. Scroll down to TimeZone
31. Press the green button and select your time zone in UTC
32. Press the green button to save and then press the red button twice to exit